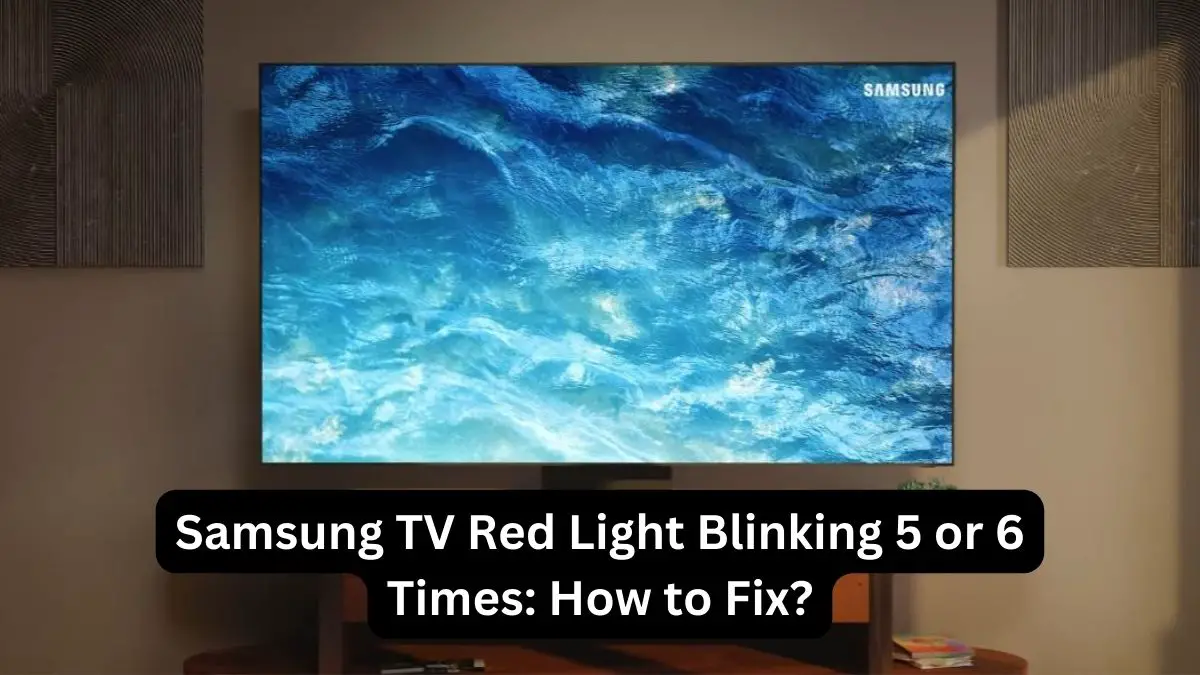
It can be incredibly frustrating when your Samsung TV suddenly starts blinking red light 5-6 times and displays no picture. This issue typically indicates a problem with the TV that prevents it from powering on and displaying properly.
While blinking red lights can seem ominous, the good news is that this problem is often repairable with some troubleshooting. In this guide, we’ll walk you through the major causes of Samsung TVs blinking 5-6 times with a black screen and the steps you can take to diagnose and resolve the issue yourself.
Causes of 5-6 Blinking Red Lights on Samsung TV
- Faulty or Disconnected Cables
- Power Supply Issues
- Overheating
- Bad Capacitors on the Power Board
- Faulty T-Con Board
- Backlight LED Issues
- Software/Firmware Glitches
By methodically checking each of these potential issues, you can usually determine what is causing your Samsung TV to malfunction. We’ll provide detailed, actionable advice on inspecting cables, testing voltage, replacing power boards, updating firmware, and other DIY troubleshooting tips.
With the right information and a systematic approach, even TV repair novices can often fix a Samsung with 5-6 blinking red lights in an hour or two. And you can avoid the hassle and expense of replacing the whole TV or paying for professional repair calls.
Keep reading as we dig into diagnosing the cause of the 5-6 red light error and outline steps to get your Samsung TV operational again. Let’s start from the beginning…
Samsung TV Red Light Blinking 5 or 6 Times, No Picture: What to Do?
With so many potential culprits for the 5-6 red blink error, diagnosing the specific problem with your Samsung TV is key before attempting repairs. Here is a systematic approach to inspecting and testing components to narrow down the cause:
Power Cycle the TV
Power cycling the TV is one basic troubleshooting step that can help clear any glitches causing the blinking red light error.
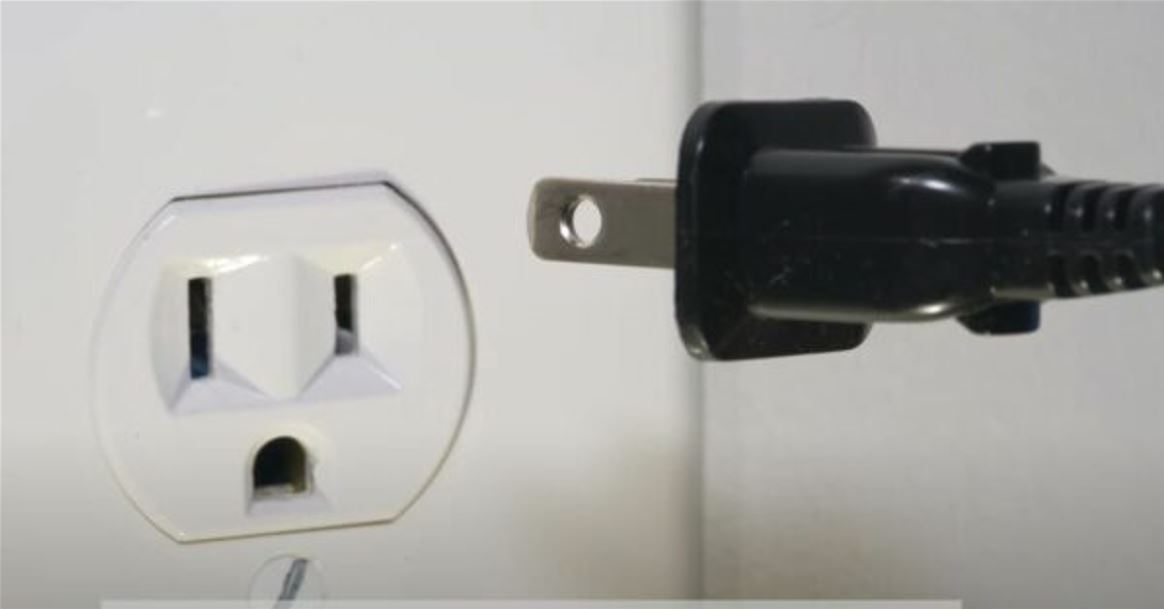
- Unplug the TV’s power cord from the wall outlet completely to power cycle properly for 60 seconds. This shuts down and discharges the TV’s circuits.
- After 60 seconds, plug the power cord back in, then press the power button to turn the TV back on.
- Allow it to restart fully. The power cycling forces the TV to reboot all its systems from scratch, which may resolve software/firmware issues or component communication faults leading to the blinking red indicator.
Fixing Faulty Cables/Connections
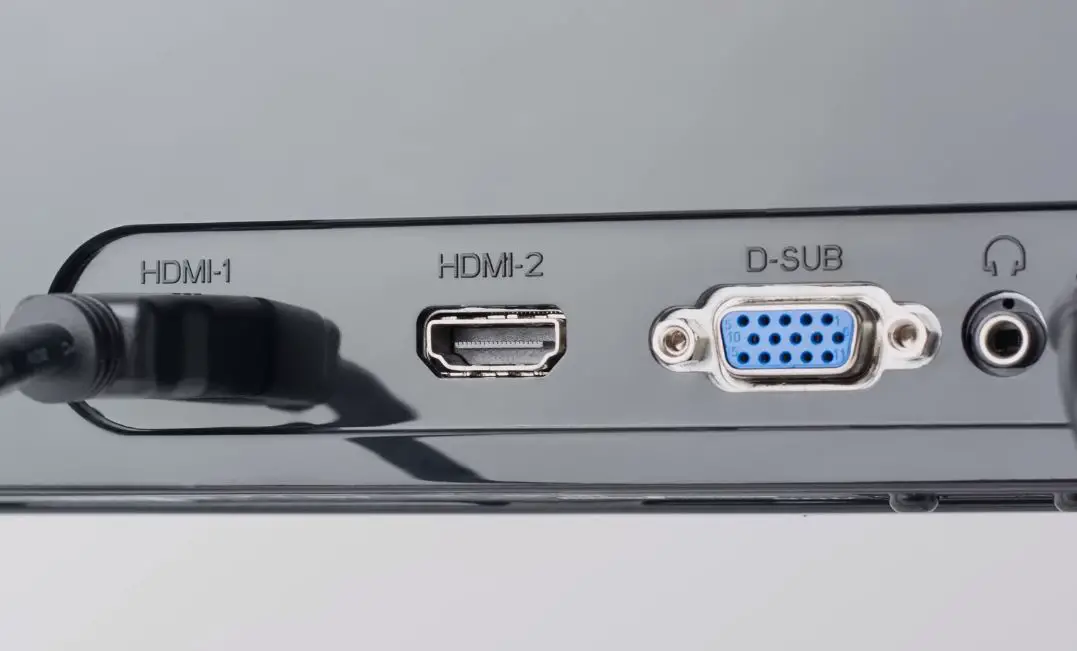
- Replace any damaged HDMI, power, or other cables connecting devices to the Samsung TV. Use high-quality cables to avoid signal problems.
- Firmly reconnect all cables at both ends, directly into TV ports, if possible. Tighten any loose port connections on the TV or devices.
- If blinking persists with devices directly connected, try disconnecting all of them and power cycling the TV. If that stops the blinking, reconnect devices one at a time to isolate the problem source.
- If using older components and connections, update cables and devices to current HDMI/HDCP standards.
Resolving Power Supply Problems

- Replace any bulging, leaking, or burst capacitors on the power supply board. Match new capacitors to the same specs.
- Confirm the power supply provides correct steady voltages to the TV’s main board. Use a voltmeter to check the AC input voltage from the wall outlet and the DC output voltages on the power supply board. Replace the power supply if voltages are outside norms.
- Connect the TV to a different electrical outlet on a separate circuit to check for wiring issues. Use a UPS battery backup if available.
Fixing Overheating Issues
- Unplug the TV and open the back panel to access internal components. Check that all fans are working and heat sinks are clear.
- Compressed air thoroughly removes any dust buildup on boards, connectors, fans, heat sinks, and ventilation grilles.
- Reseat any loose or disconnected fan cables. Replace non-functioning fans if needed. Apply new thermal paste if the heatsinks have dried out the paste.
- Make sure the Samsung TV has adequate ventilation on all sides. Don’t enclose it tightly on shelves or cabinets.
- Place the TV away from windows or heating equipment that could raise ambient temps. Don’t stack other components on top that radiate heat downward.
- Consider adding an external fan accessory to boost airflow if overheating continues in warm environments.
Replacing Bad Capacitors
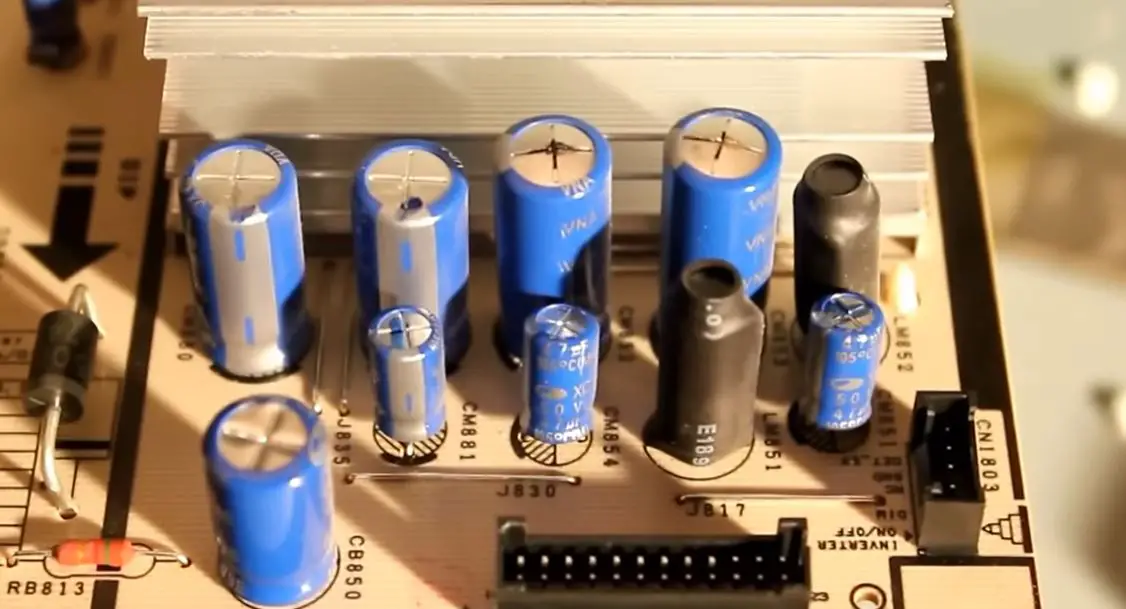
- Examine all main and power supply board capacitors for signs of failure – bulging tops, leaking grease, split vents, etc.
- Desolder each damaged capacitor and remove it from the board. Take note of capacitance rating and voltage specs.
- Obtain the same spec replacement capacitors for the failed ones. Use caution handling, capacitors can retain dangerous charges.
- Carefully solder the new capacitors onto the circuit board in the same orientations. Avoid overheating boards or traces.
- Test TV operation once all bad capacitors have been replaced. The problem should be resolved if the diagnosis is right.
Fixing T-Con Board Issues
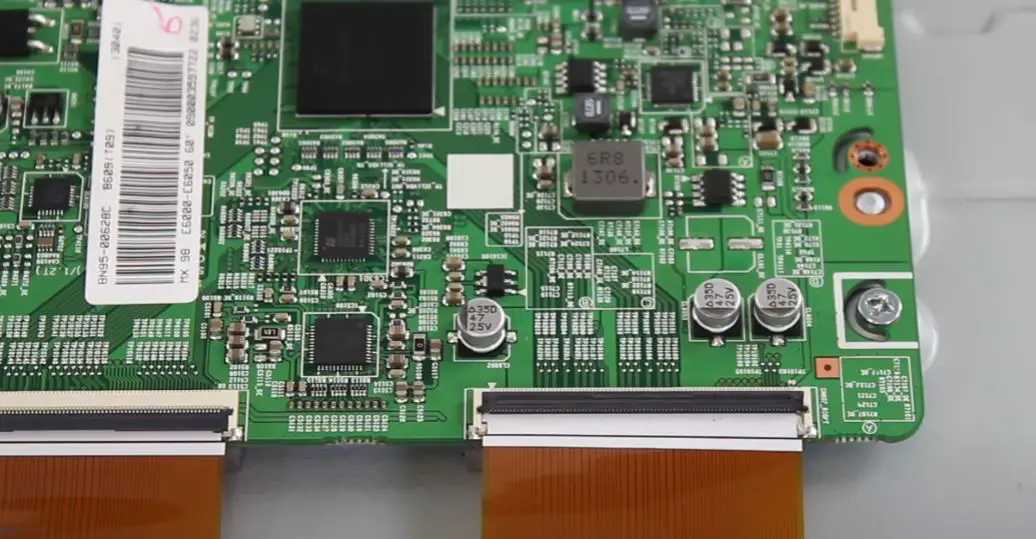
- Check T-Con board cables and ports for loose connections and secure them properly if found.
- Inspect the T-Con board closely for burnt, discolored, or cracked areas indicating physical damage.
- If damage is found, replace the entire T-Con board with a used working unit or a new one to match your model.
- Carefully detach all cables from the old T-Con board and attach them to the same ports on the replacement.
- Test for blinking error again after reconnecting all cables to the T-Con board, preferably with the back cover off.
Inspecting the LED Diagnostic Lights
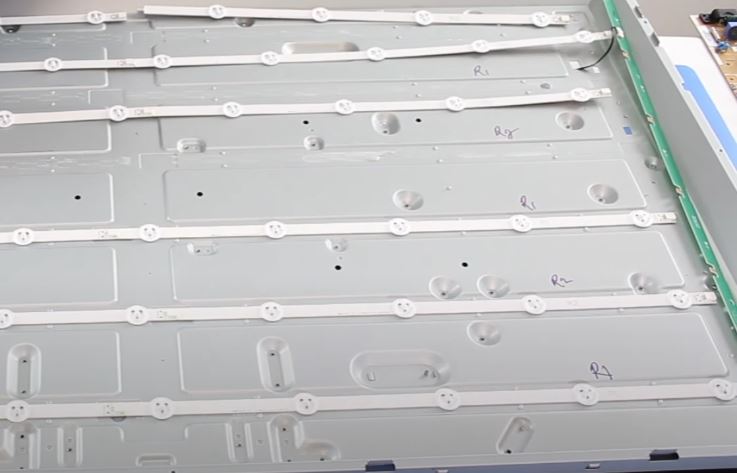
LEDs can burn out over time, like traditional bulbs. When an LED fails, it can cause irregular blinking patterns that signal error codes. To troubleshoot the LED diagnostic lights:
- Locate the LED strip on the main board circuit. LED TVs generally use several small individual lights together.
- Check for any burnt-out or discolored LEDs in the diagnostic light strip. A single burnt-out LED can affect the overall blinking pattern.
- Confirm the LED strip ribbon cable has a solid connection to the main board.
- Test resistance values of individual LED lights with a multimeter. Replace any that are out of specification.
- If necessary, replace the entire LED light strip and retest.
In many cases, the specific faulty component causing the blinking red light will require replacement to get the Samsung TV operational again.
Updating Firmware

- Identify the model number and current firmware version in TV settings.
- Check the Samsung support site for any newer firmware available for your model and download it to your PC.
- Extract the firmware update file and load it onto a FAT32 formatted USB flash drive.
- With the TV powered off, insert the USB drive into a port on the TV.
- Power on the TV and initiate the firmware update procedure from the settings menu. Allow full update to complete.
- If the update fails to load, retry downloading the latest firmware and reinstalling it on the USB drive.
- Remove the power cord and hold down the power button for 60 seconds after the firmware update to discharge.
Your Samsung TV should return to working order once you’ve addressed the issue causing the blinking red lights. Power it on and confirm normal video output has returned and the 5-6 blinking error is gone. If problems persist, further professional TV repair may be needed. But following these troubleshooting steps can get your Samsung functioning again in many cases without replacement.
Preventing Samsung TV Red Light Flashing Issues
To help avoid technical problems like a blinking red standby light in the future, here are some tips:
- Protect the TV from moisture, extreme temperatures, and dust to prevent damage.
- Ensure the TV has proper ventilation to prevent overheating components.
- Use a surge protector to protect against power surges damaging TV circuits.
- Keep TV firmware updated for optimal performance.
- Have a qualified technician perform preventative maintenance and TV servicing annually.
Conclusion
Don’t give up at the first sign of blinking red indicator lights. For less than the price of a new TV, replacement parts and some elbow grease can often get your existing Samsung TV up and running again in no time.
Use this guide anytime those dreaded blinking red lights appear and you lose a picture on your Samsung TV. With the right repair information, you can troubleshoot and resolve the 5-6 blinking red light errors yourself and enjoy watching your TV again.
So take a systematic approach, follow our tips, and stop worrying about vague blinking red lights. A bit of DIY troubleshooting is often all that’s needed to revive your malfunctioning Samsung television. Just target the specific issue at hand rather than assuming the whole TV is lost. With perseverance, you’ll likely have your Samsung TV’s picture restored shortly.