Having your Hisense TV flash a red light twice can be frustrating. This usually indicates there is some kind of issue with the TV that needs troubleshooting. The good news is that with some simple steps, you can often resolve the red light blinking problem yourself without calling Hisense support or taking the TV to a repair shop. This guide will walk you through several potential solutions to stop the red light from blinking twice on your Hisense TV.
Understanding the Meaning of the Red Light Blinking Twice
When you see the standby light on your Hisense TV flashing red twice, it’s actually displaying an error code that indicates the nature of the problem. Here are the most common issues associated with the two-blink red light code:
- Power Issue: This could indicate a problem with the TV’s power supply or main board. Two red blinks can mean the voltage is unstable; there’s a bad capacitor or another power-related issue.
- Backlight Problem: With LED/LCD Hisense TVs, two red blinks often mean the backlight system has malfunctioned somehow. This could point to bad LEDs, a faulty LED driver board, or another backlight-related failure.
- Loose Cable: A loose internal cable connection can also trigger the double-blink red light. It is usually a loose ribbon cable that has come undone from the main board or power supply.
- Overheating: The two-blink code sometimes occurs if the TV has overheated and needs to cool down before it will power back on. This points to an airflow obstruction or fan failure.
- Bad TV Panel: In rare cases, two red blinks indicate the TV’s actual LCD or LED display panel has failed and needs replacement.
So, in summary, when your Hisense TV blinks red twice, it means some internal component prevents the TV from powering on correctly. The rest of this guide will help you pinpoint the exact cause based on your model and symptoms.
What to Do When Hisense TV Red Light Blinking 2 Times
Perform Basic Hisense TV Troubleshooting First
Before diving into the blinking red light specifically, it helps to try some basic general troubleshooting steps first. Here are some easy things to check that could potentially resolve your Hisense red light blinking issue:
Check Connections: Examine all the cables connecting to the back of the TV, including the power cord, HDMI cables, and any other inputs. Make sure they are all plugged in securely. Unplug them and plug them back in to re-seat the connections.
Try a Different Power Outlet: Plug the TV’s power cord into another outlet in case the original one went bad or lost power. I prefer to connect it directly to a wall outlet rather than a power strip.
Power Cycle the TV: Unplug the TV from the power outlet, wait 60 seconds, then plug it back in. This may reset any stuck components and clear the red blinking light.
Press and Hold the Power Button: Press and hold the power button on the Hisense TV for 10-20 seconds to force any stuck processes to restart.
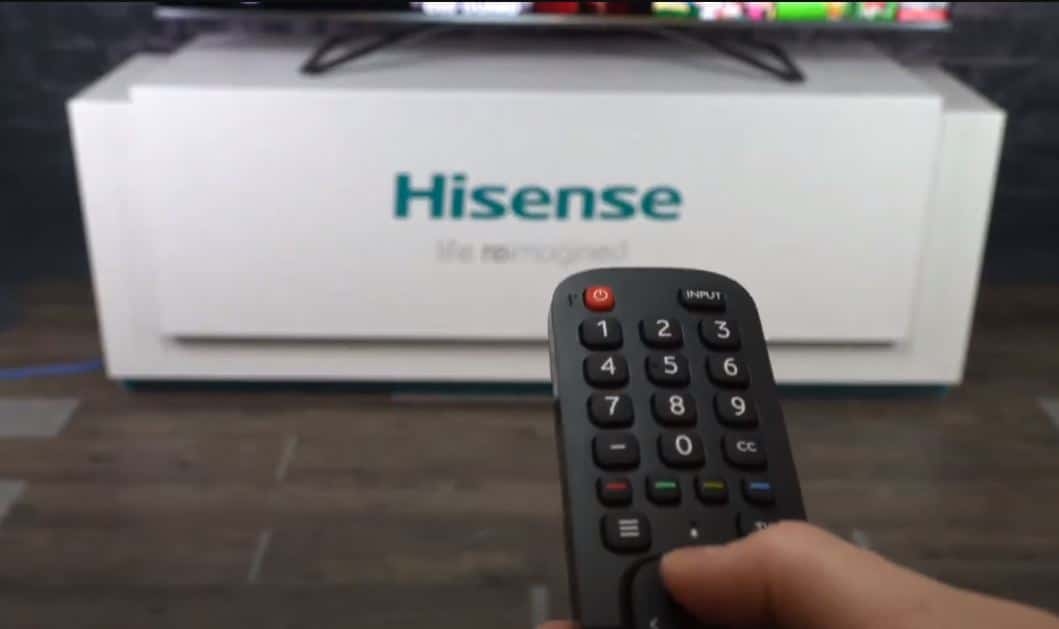
Check Remote Control: Ensure your remote control works properly and can turn the TV on and off. If not, you may need to replace its batteries.
Factory Reset the TV: If none of the above works, perform a factory reset on the Hisense TV. This will erase all your custom settings but may resolve a software glitch.
Troubleshoot Models with Detachable Power Boards

Some Hisense TV models have a detachable power supply board that connects to the main board via a cable and ribbon connector. If you have this style of TV, you’ll want to check the following:
Reseat Ribbon Cable: The most common cause of a double-blink red light on these TVs is the internal ribbon cable working loose. Unplug the TV, remove the back panel, and detach the power supply board. Carefully pull up the wide ribbon connector that plugs into the main board, reseat it, then reassemble the TV.
Check Power Supply Board: Examine the detachable power supply board for any damaged capacitors or burnt/melted areas. The power supply board likely needs replacement if you see any apparent damage. Order one online using the number labeled on the board itself.
Measure Power Supply Outputs: Use a multimeter to check that the DC voltage outputs from the power supply board match the TV model’s voltage specifications listed in the manual. If they are abnormal, the supply board is faulty.
Following these steps for detachable power board models should resolve most instances of the standby light flashing red twice. Be sure to unplug the TV before doing any internal checks.
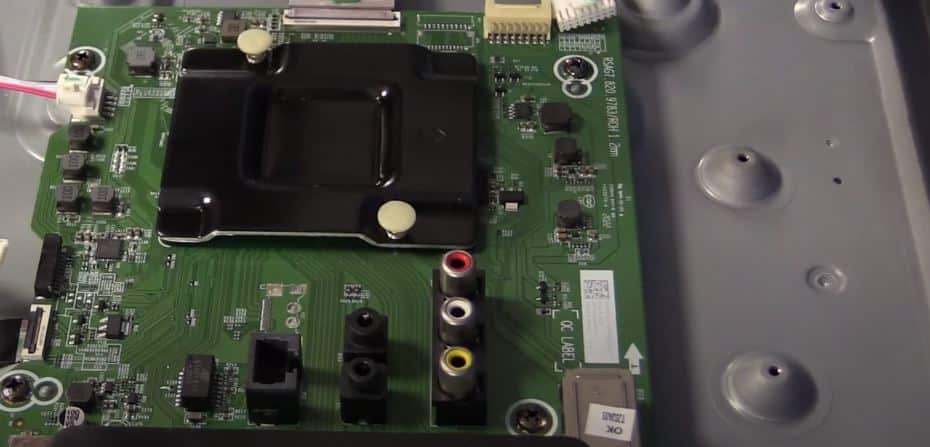
Inspect Ribbon Cables on Non-Detachable Power Supply Models
For Hisense TVs, where the power supply is permanently attached inside, a double blink of the red light often means an internal ribbon cable has come loose. Here’s how to inspect them:
Open TV Case: Unplug the power cord and use a Phillips screwdriver to carefully open the plastic rear case of the TV to access the internal boards. Refer to your model’s manual if needed.
Check Ribbon Cable Seating: Examine where all the ribbon cables connect to boards like the LED driver, T-con, and main board. Look to see if any are loose or appear to be disconnected.
Reseat Loose Connections: If you find any loose ribbon connectors, turn the TV over to access the board they are on. Gently pull up on the plastic connector, then firmly press it back down onto the board’s pins.
Inspect for Cable Damage: Thoroughly check the flat ribbon cables for any tears, creases, or missing silver contacts. A damaged ribbon cable needs replacement by soldering on a new one.
Reassemble TV: After checking and reseating all connections, carefully reassemble the rear shell and test the TV power. The red light issue should be resolved.
Observing all internal cable seating methodically will often fix elusive random TV shutdowns and blinking red lights.
Check Backlight LEDs for Failure
On LED-backlit Hisense TVs, often abbreviated as LED TVs, the most common cause of a double-blink red light is the failure of one or more of the LEDs in the backlight array. Here is how to troubleshoot and fix bad LEDs:
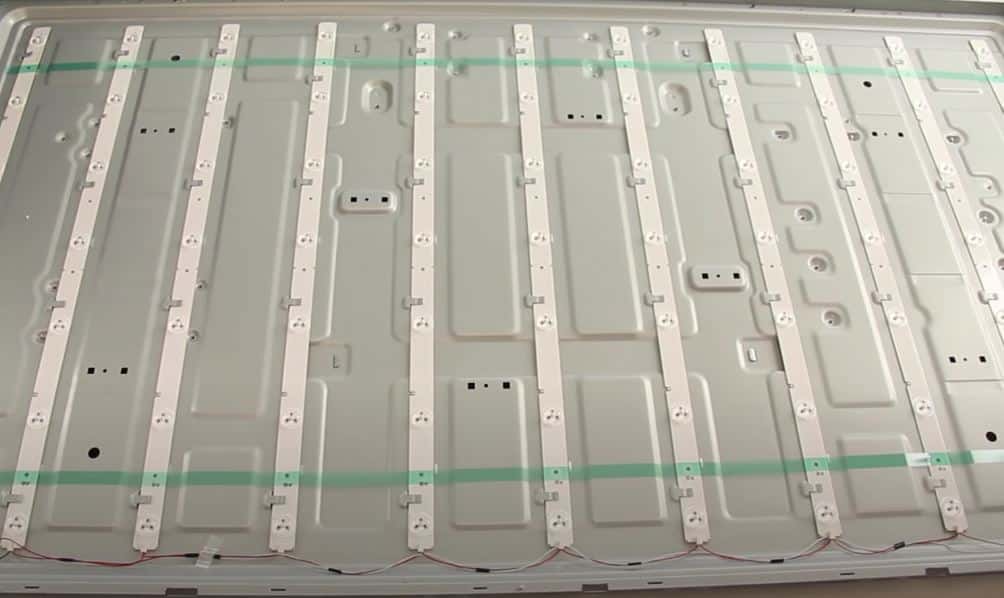
Determine LED Type: Open the TV case and note whether the backlight LEDs are individual chip-type LEDs or a long LED strip. This determines your next steps.
Check for Bad Solder Joints: If the LEDs are individual chips soldered to the LED driver board, inspect each LED’s solder joint for cracks or dull/broken connections. Resolder any that look suspicious.
Check Voltages: Use a multimeter to verify the voltage supply to the LED driver board matches what’s listed in the TV manual. If not, the board is likely faulty.
Check LED Strip: Look closely for burned-out or cracked LED emitters along the strip on models using long LED strips. Replace strips that have multiple bad LEDs.
Replace Driver Board: If LEDs receive the correct voltage but some LEDs appear consistently dim or are out, the LED driver board likely needs replacement. Source a replacement online using the part number on the board.
Thoroughly checking all LED backlights is an effective way to repair the double-blink issue caused by backlight failure. Adjust your steps based on whether your model uses discrete or strip LEDs.
Rule Out Hisense Main Board Failure
The TV main board is where all internal components interface and is essentially the brains of the TV. If the standby light blinks red twice when trying to turn on the TV, the main board itself could be faulty. Here’s how to test:
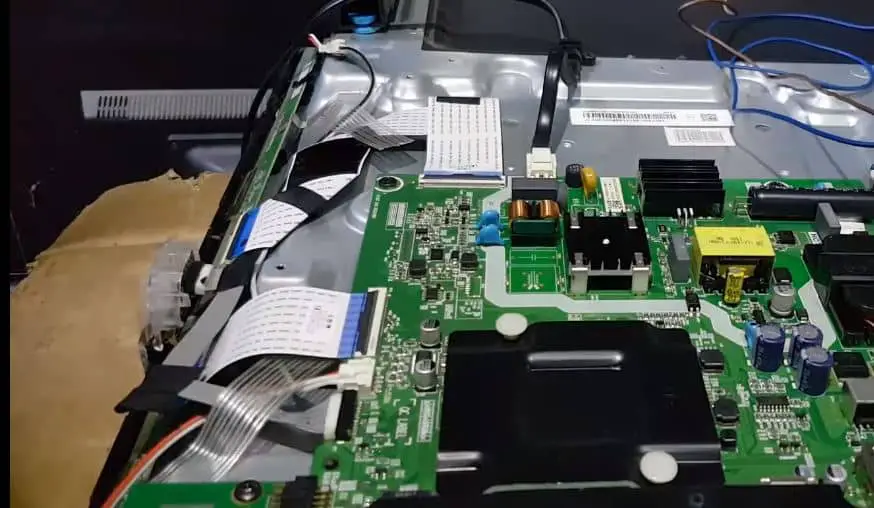
Inspect for Damage: Remove the TV rear shell and visually inspect the main board for any damaged, burnt, or discolored components. Look for popped capacitors or melted areas that indicate failure.
Check Power at the Board: With the power cable connected, use a multimeter to verify the main board receives the correct input voltage based on your TV model’s service manual specifications.
Measure Standby Voltages: Verify the expected standby voltage is present at the designated output test points listed in the manual when the TV is plugged in but powered off.
Substitute Known Good Main Board: As the definitive test, find a matching known good main board and temporarily install it. If the red light issue disappears, then the original main board is faulty. Obtain an exact replacement online using the main board’s part number.
While not the most common cause, confirming or eliminating the main board as the culprit is important in resolving blinking red light problems. Swapping in a known good board will conclusively determine if yours is bad.
Tackle Power Supply Issues
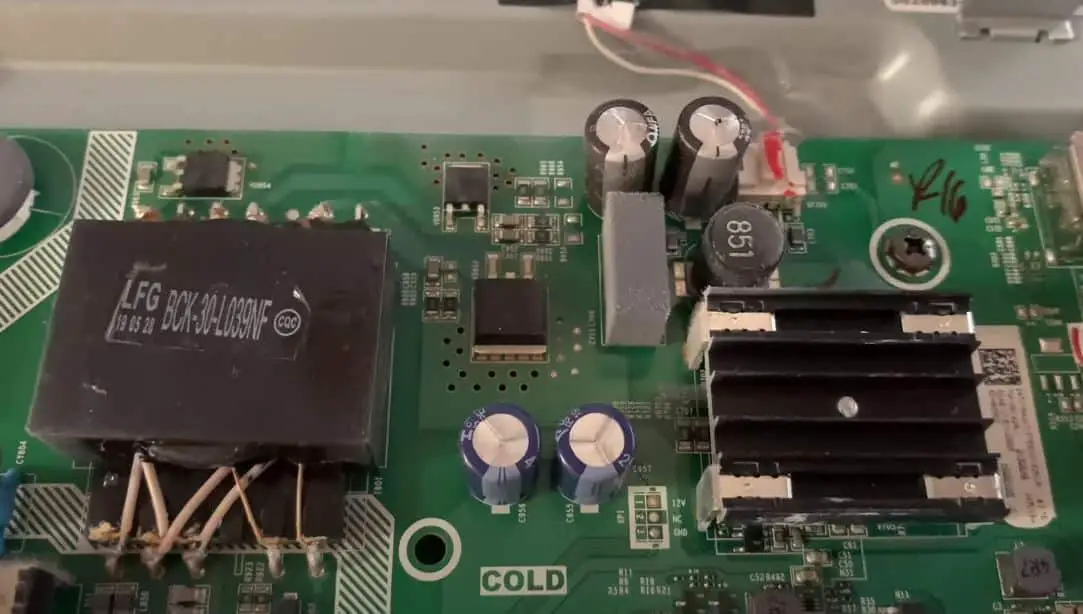
Many red light blinking problems come down to the TV’s power supply being faulty or providing unstable voltage outputs. Here are tips specifically for diagnosing and fixing power supply issues:
Check Capacitors: Inspect all large filter capacitors on the power supply board for any signs of bulging or leaking electrolyte, indicating failure. Replace any suspect caps.
Measure Outputs: Use a multimeter to verify the power supply DC voltage outputs match the levels listed in the TV service manual for your model. Incorrect voltages point to a problem with the power supply.
Test Power Board: If the TV uses a replaceable power supply board, swap in a known-good replacement board to test. If the issue disappears, you’ve confirmed the original supply board was bad.
Replace Internal Supply: The entire supply often needs a replacement for TVs with internal non-detachable power supplies. Match up the power board part number to purchase an exact equivalent online if this is the case.
Check Connections: Examine the power supply wire harness and connectors. Make sure the connection at the main board is not loose or corroded. Faulty connections to the main board can also result in blinking red lights.
Thoroughly examining the power supply section should resolve many power problems signaled by flashing red standby lights. Pay particular attention to any bulging capacitors.
Call an Experienced TV Repair Technician
If you have methodically followed all the steps above but the Hisense TV red light continues blinking twice, it likely indicates an internal problem too complex for DIY repair. At this point, calling a professional TV repair company is advisable.
Some advantages of enlisting an experienced repair technician include:
Proper diagnostics: They have professional-grade equipment and in-depth knowledge to diagnose complex issues the average person does not.
Specialized skills: Technicians are trained in advanced soldering, reading schematics, and component-level troubleshooting skills for TV repair.
Efficiency: A good technician will likely resolve the issue faster than tackling it through trial and error.
Warranty: Many companies provide a 6-month to 1-year warranty on their repair workmanship for peace of mind.
Always be safe when doing DIY repairs by unplugging the TV and using the proper tools. But when you are ready to throw in the towel, calling an expert is the wise next step to get your defective Hisense TV working again.
Conclusion
Flashing red standby lights on a Hisense TV is always frustrating to troubleshoot. But using the detailed tips in this guide, you can methodically isolate the faulty component causing the blinking red light in most cases. The key is to start with the simplest solutions, like cable connections and power cycling, then move on to testing individual boards and components to identify the failure. Always exercise caution when doing internal TV repairs. Persistence and logic are key to resolving annoying blinking red light problems on Hisense TV models. If DIY efforts are not successful, the services of a professional TV repair technician can get the job done properly. You can get your finicky Hisense TV back up and running with the right approach.